Today I was dreaming of the ocean. Since moving away from the coast last Summer, I have missed it intensely. So my thoughts often wander to the sea.
I’ve been inspired by one of my students to make some seascapes lately as she made a very beautiful pair at her first fused glass lesson last week. I haven’t made one in a while!
Here is my process for designing and making the little seascape.
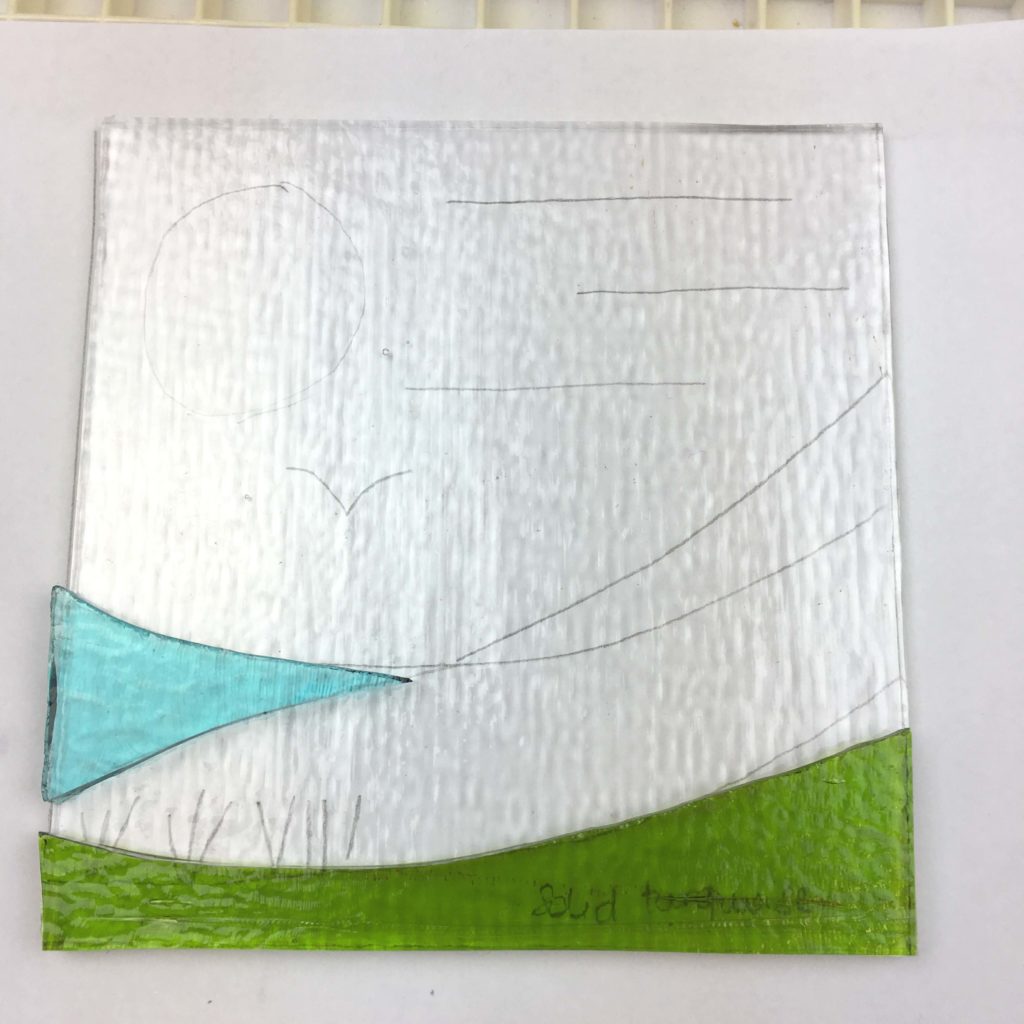
Draw your design.
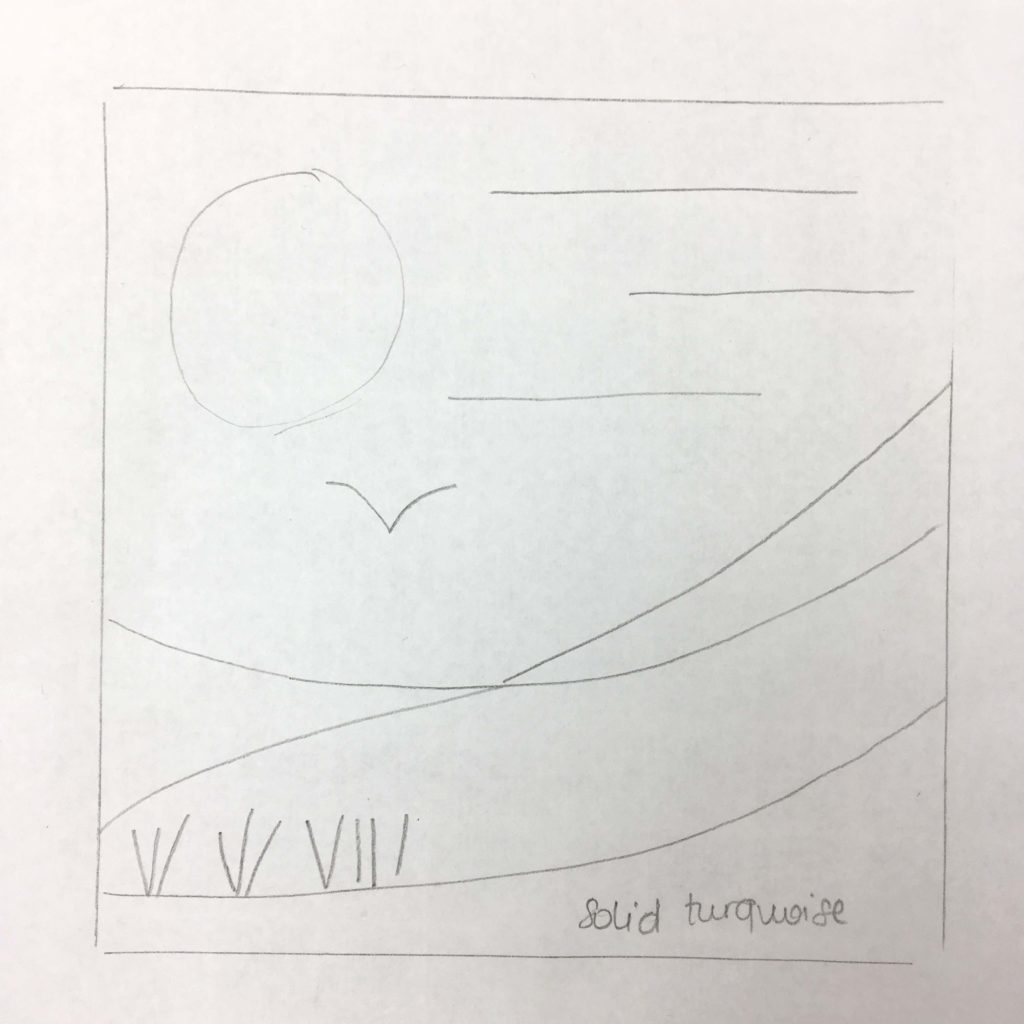
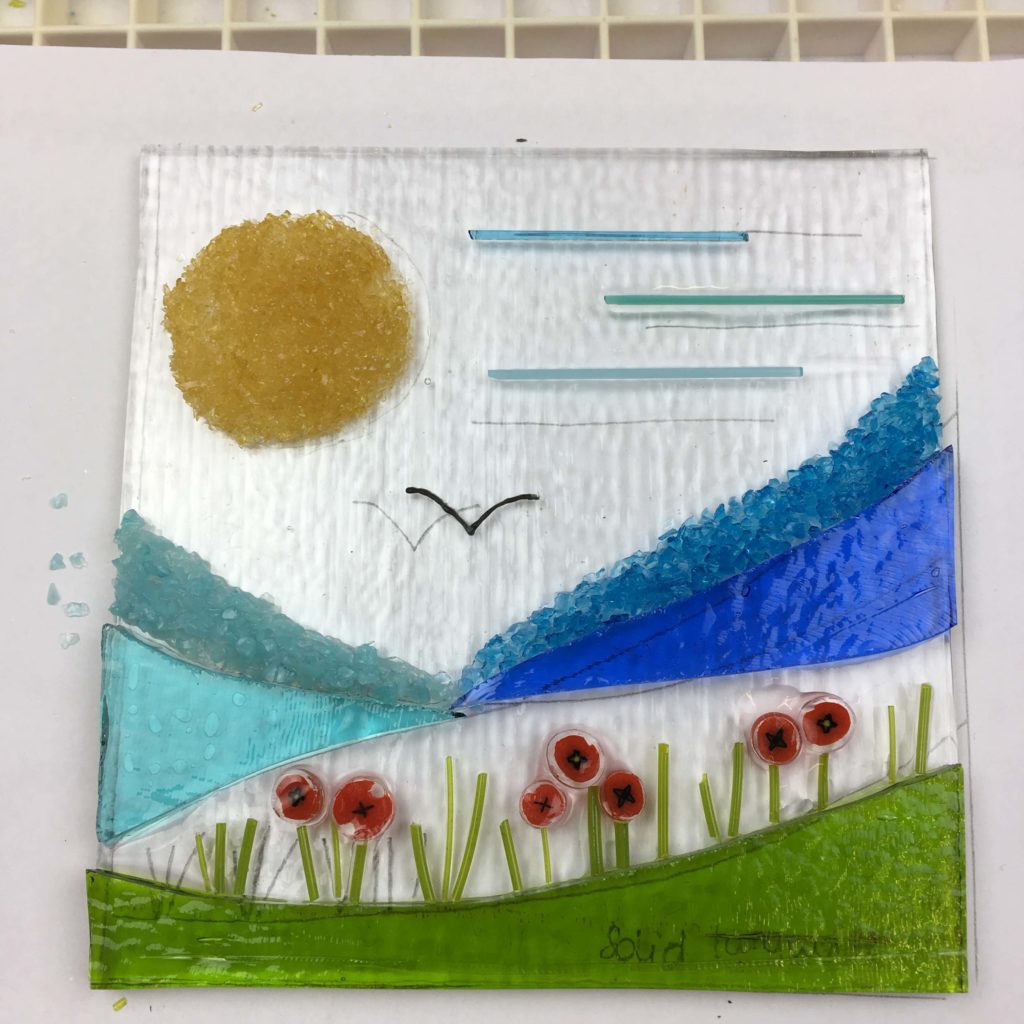
I cut the piece of base Tekta (clear glass) into the size I want for my picture. I then draw around it with some pencil on a piece of blank paper. I remove the glass and then draw on the design.
When you are designing a piece of glass like this, decide whether you are going to try and replicate exactly what you might see (as in a photograph) or whether you are looking for something a bit more abstract. I’m all about the abstract since my actual painting skills are somewhat limited! If you are good at painting and realism is the look you want to achieve, I would suggest experimenting with enamels to paint on the glass.
Once I have drawn my basic design, I can then put the glass back on top of the drawing to make it easier to place the elements required.
Don’t worry if your design starts to evolve and change as you go through this process. I didn’t end up doing the turquoise glass as labelled at the bottom. I used spring green instead. It just seemed to work better. It’s a creative process and you don’t need to be a slave to your original design.
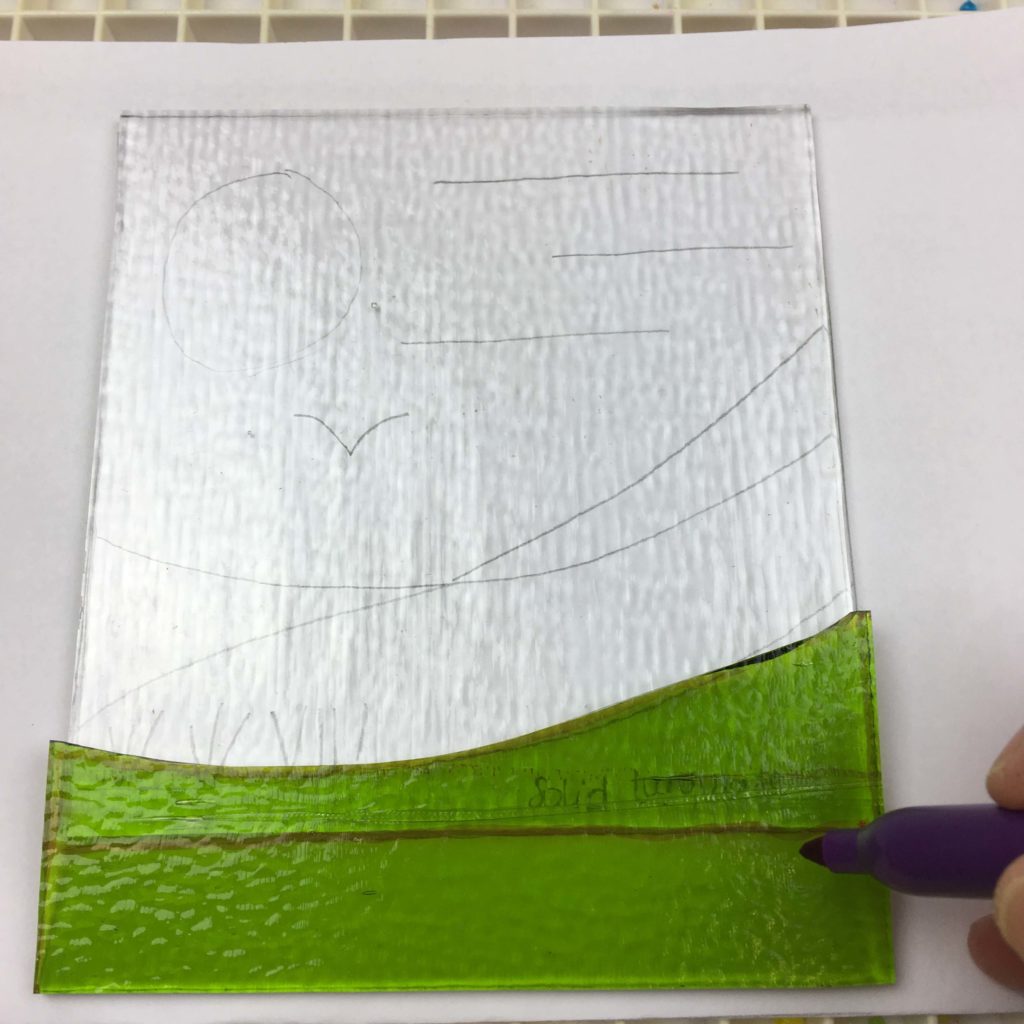
Start cutting the pieces you will need for your design. I use a sharpie to mark cutting lines on the glass. Placing the glass over the design before marking it is great for transparent glass.
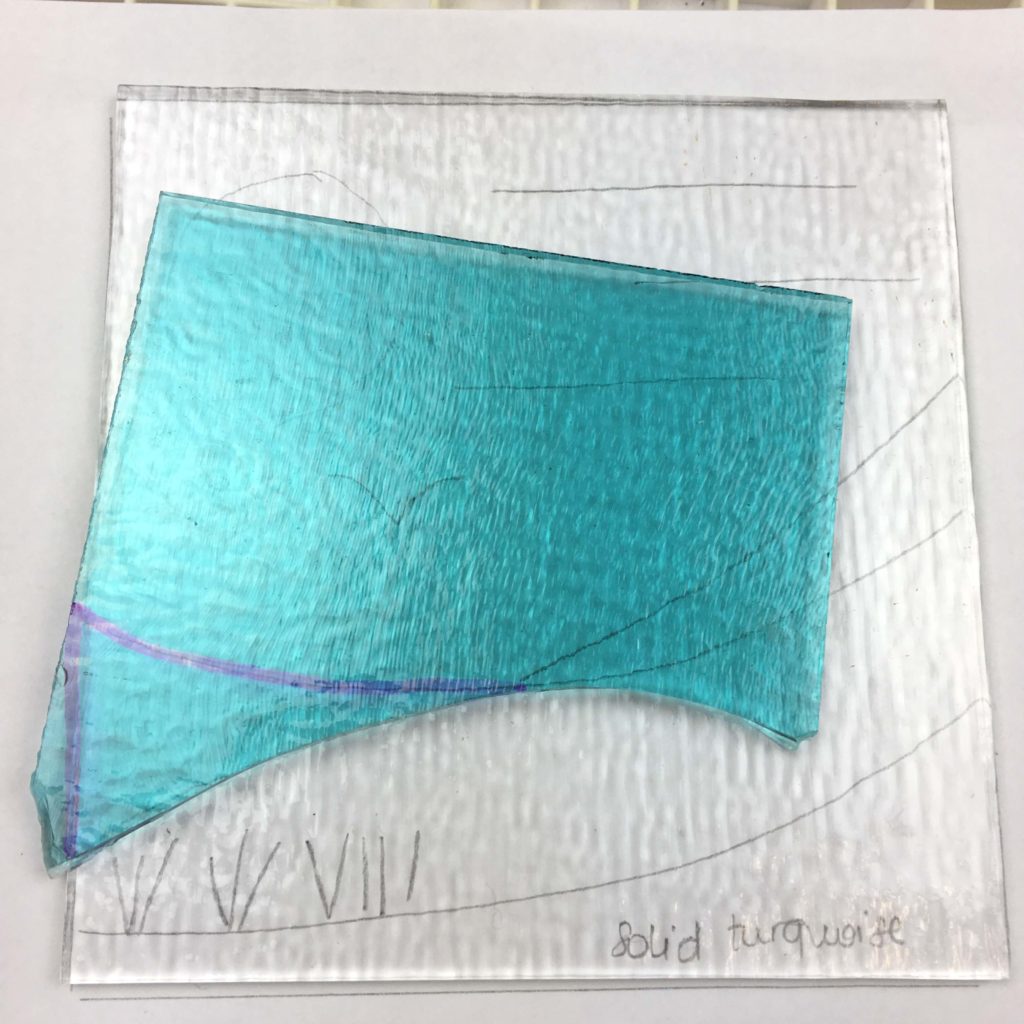
Keep going until all the glass pieces are cut.
Use your design to guide you when placing the pieces you have cut. You might need to use a grinder or other coldworking tools to cut your glass to the shape you need.
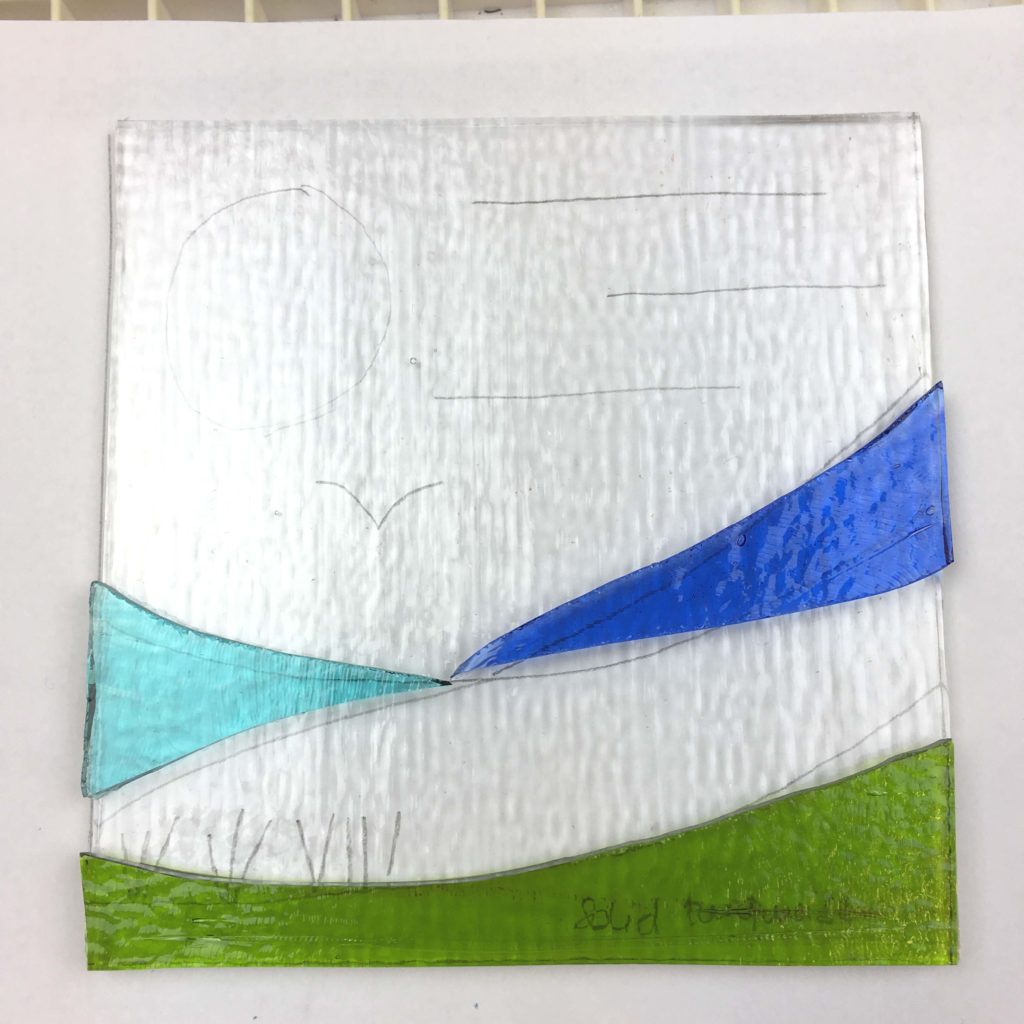
Once you have finished cutting all the pieces, it is time to add the other glass elements into your design.
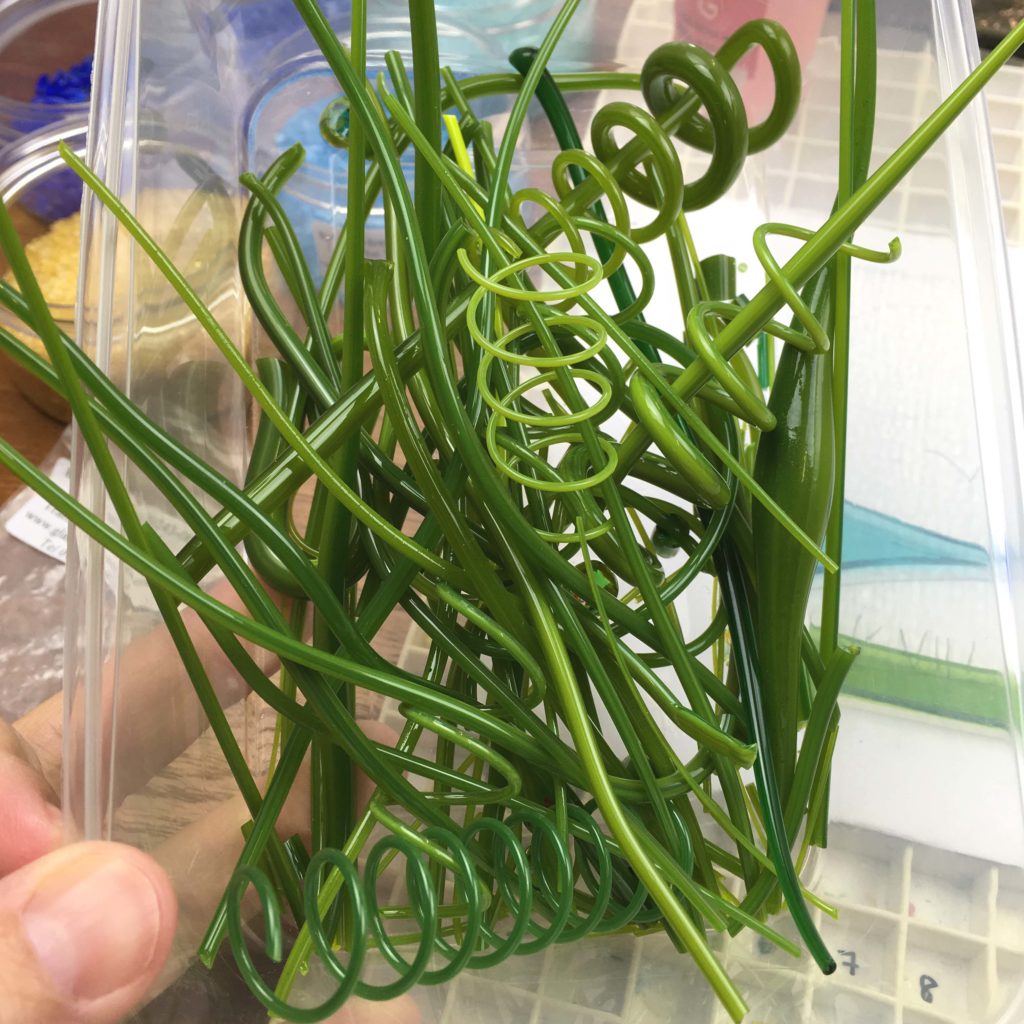
I love using these gorgeous vitrograph stringers to make the stems of plants. as they have such lovely curves. Since these little stems are short, you could easily use normal straight green stringers instead.
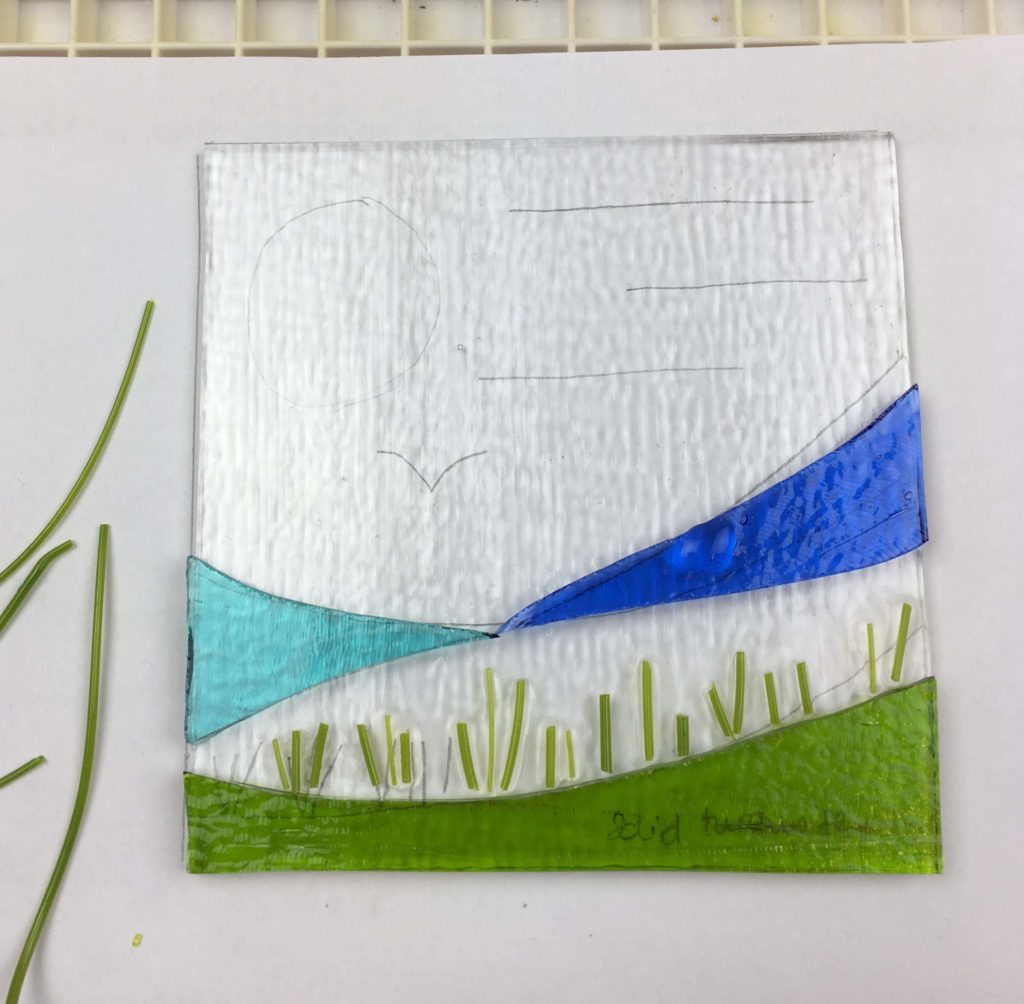
I love to see the design building. You can put the little stems in bunches or in singles. It’s entirely up to you.
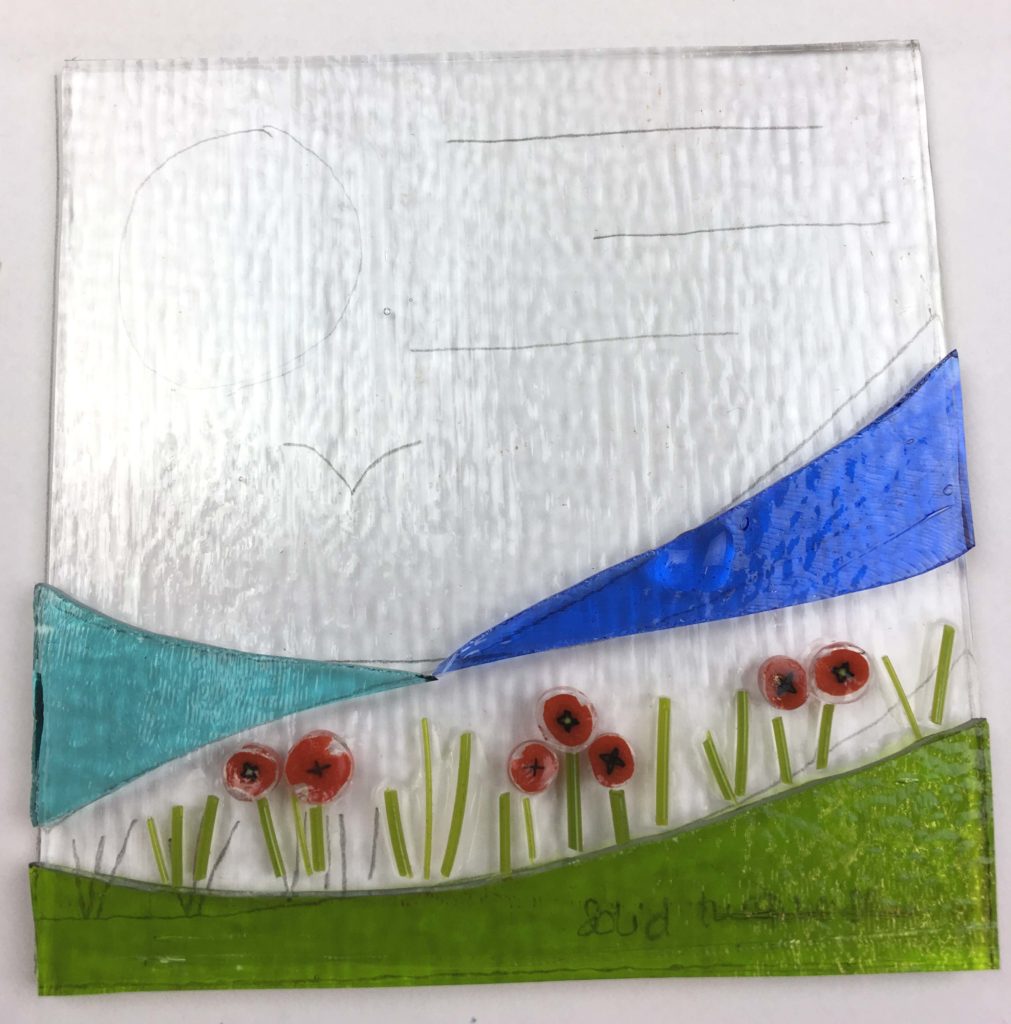
Now the plants need some flowers. I’m using little murrini made by Tabitha Burrill at Tabitha’s Glass Emporium. They are going to be wonderful when fused. If you don’t have any murrini handy, you could also use dots made from coarse frit, or indeed just some coarse frit or small glass chips.
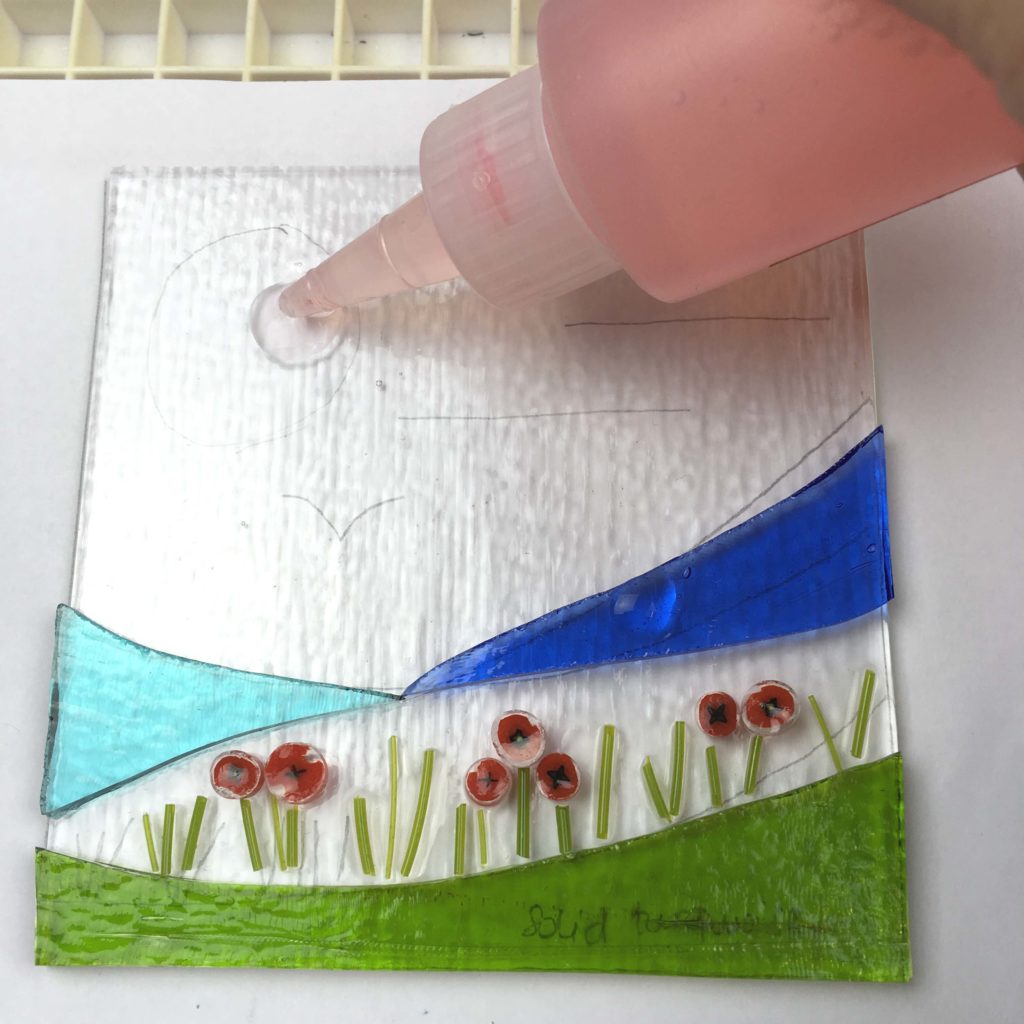
I’m planning to make the sun from fine amber frit but first I’m going to put some glastac glue down so that it doesn’t go anywhere when I put the frit on.
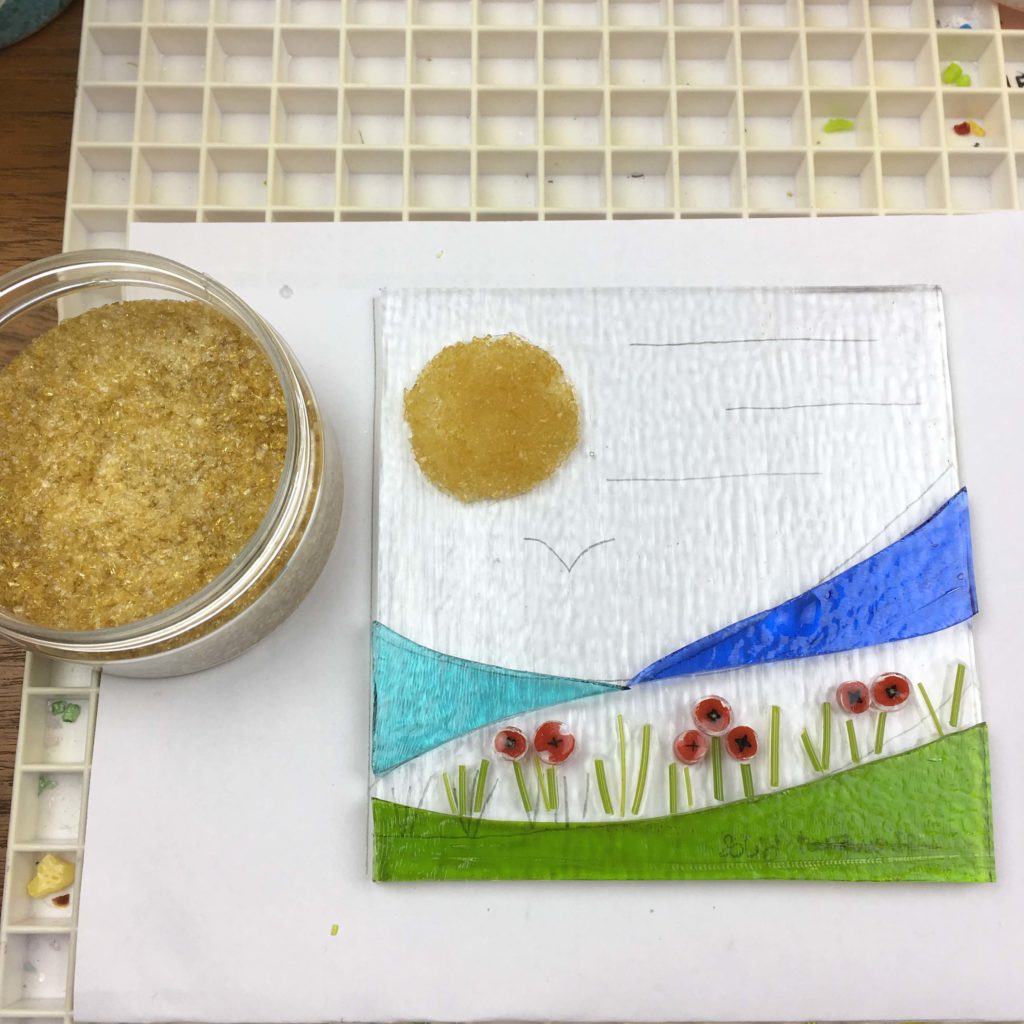
Put plenty of Glastac on to keep that frit in place! It’s shaping up now.
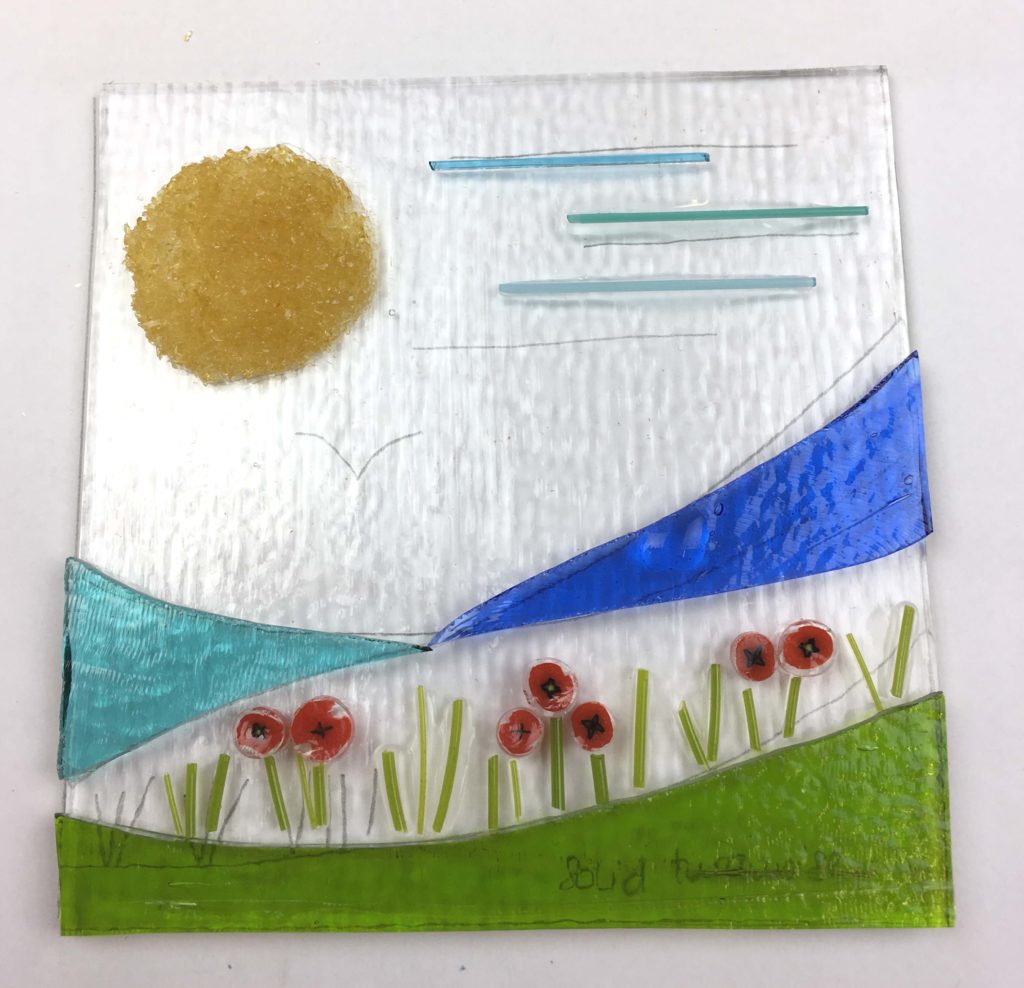
Next, place on the stringers representing the sky. Also stick these down as the tend to move about.
I used some black glassline paint to draw in the seagull. This is trickier than it looks. Getting a consistent, thin line in glassline is difficult. I took about 5 goes to get this right and even so it’s not perfect. I also added a bit more frit to the blue waves to make them more textured. I used medium frit for this.
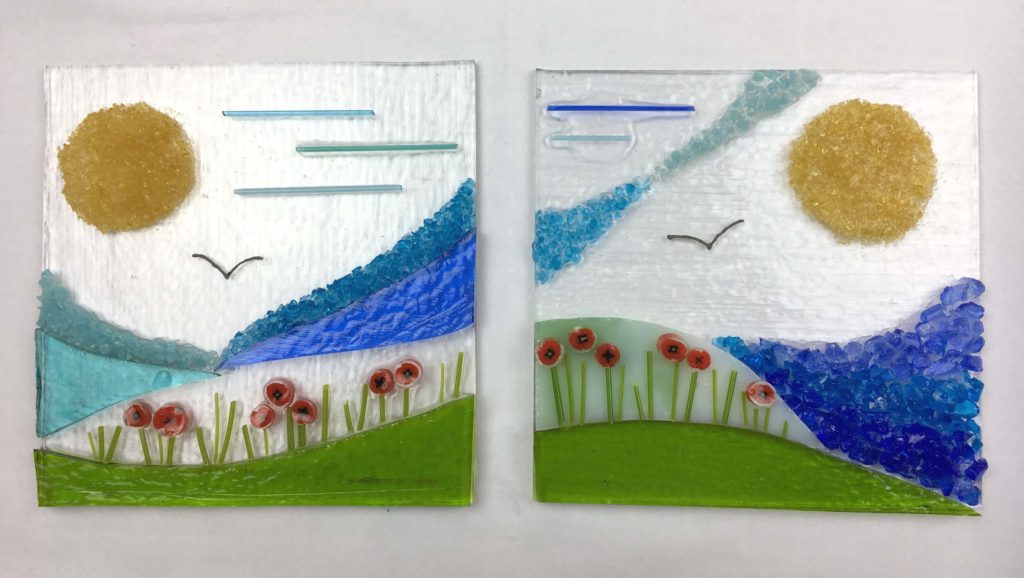
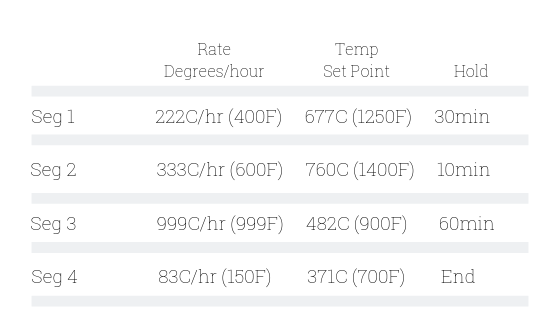
Lastly, I made a sister picture along the same kind of design ideas to accompany my piece. These will go into the kiln using the normal tack fuse schedule for Bullseye Glass. If you use a different glass you should check the manufacturer’s instructions for the recommended tack fuse schedule.
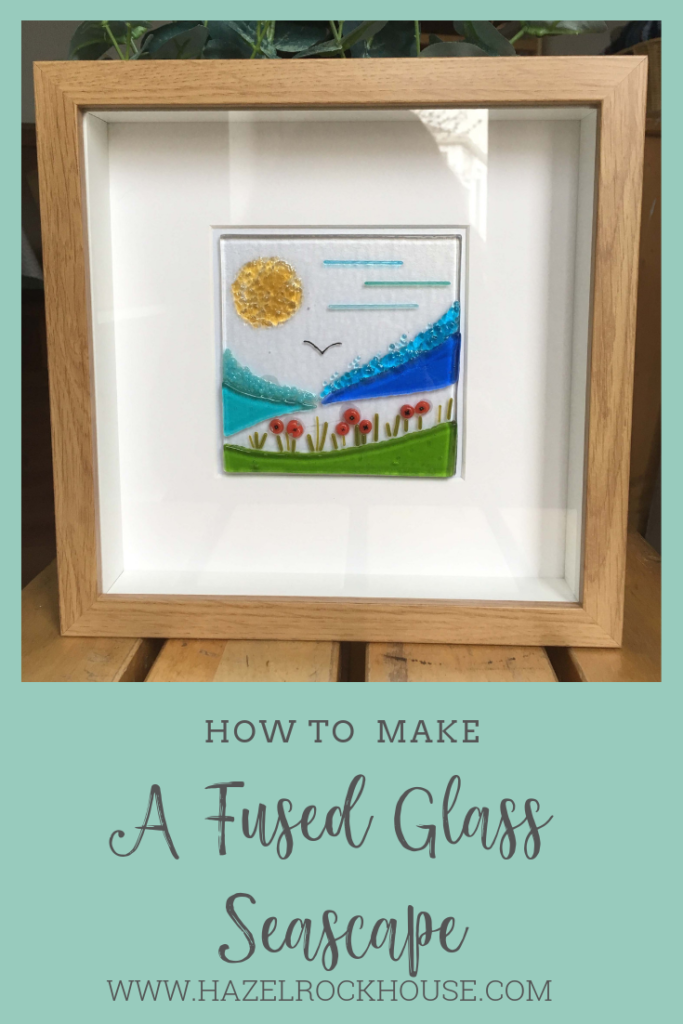
And here they are.
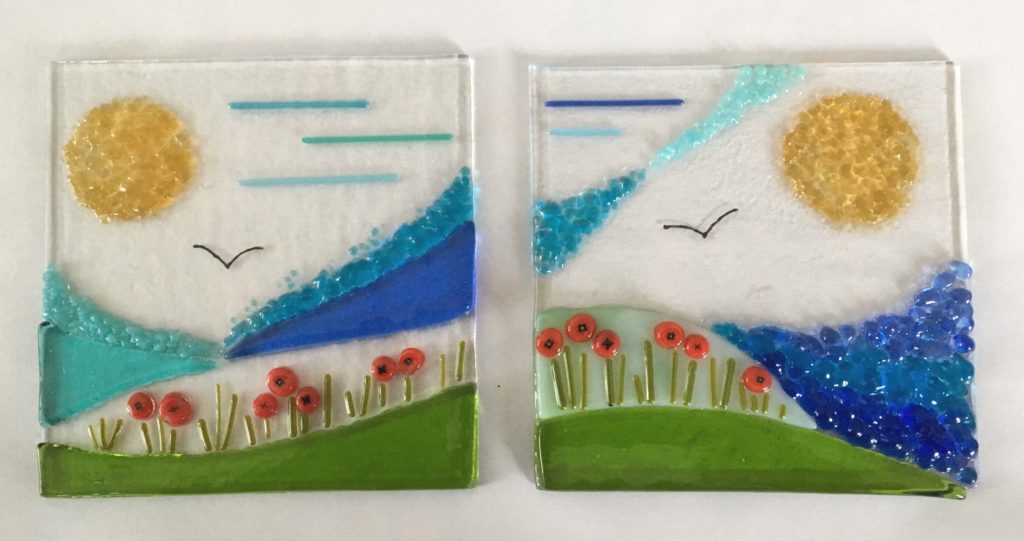
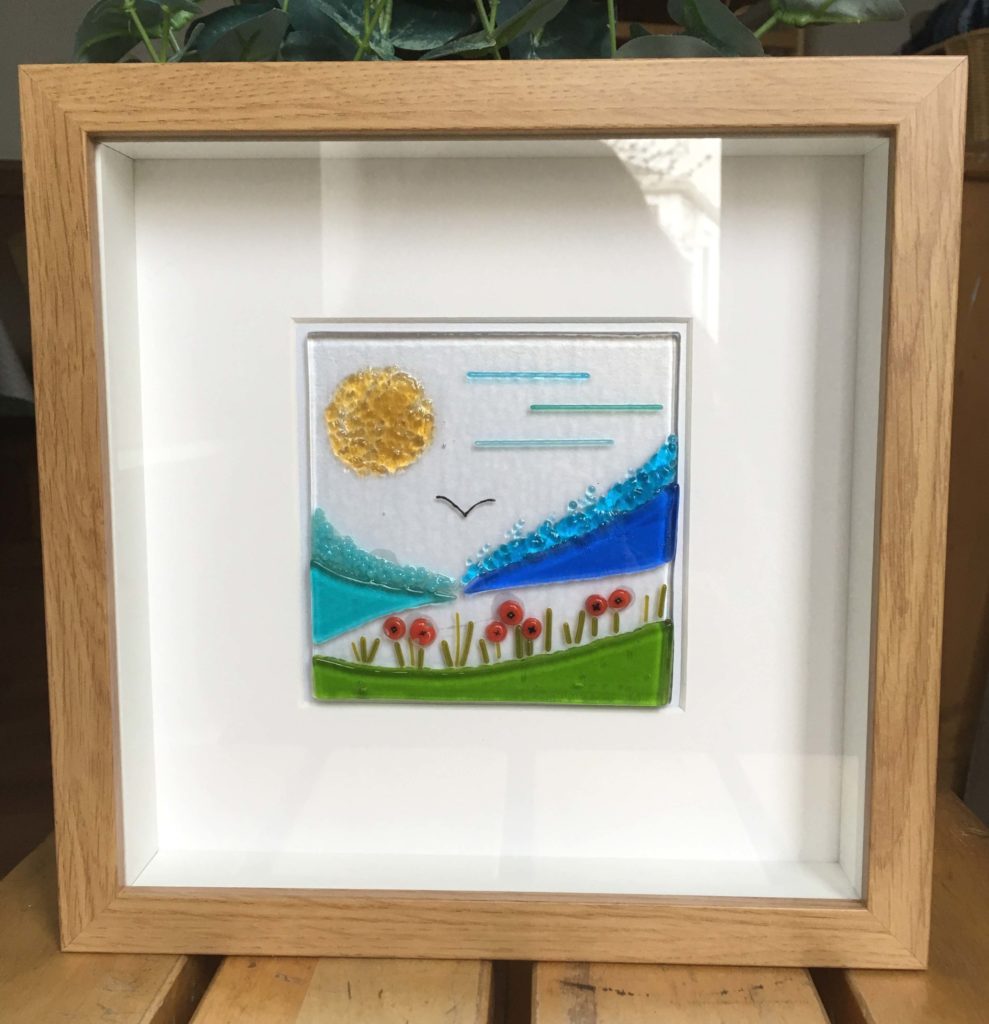
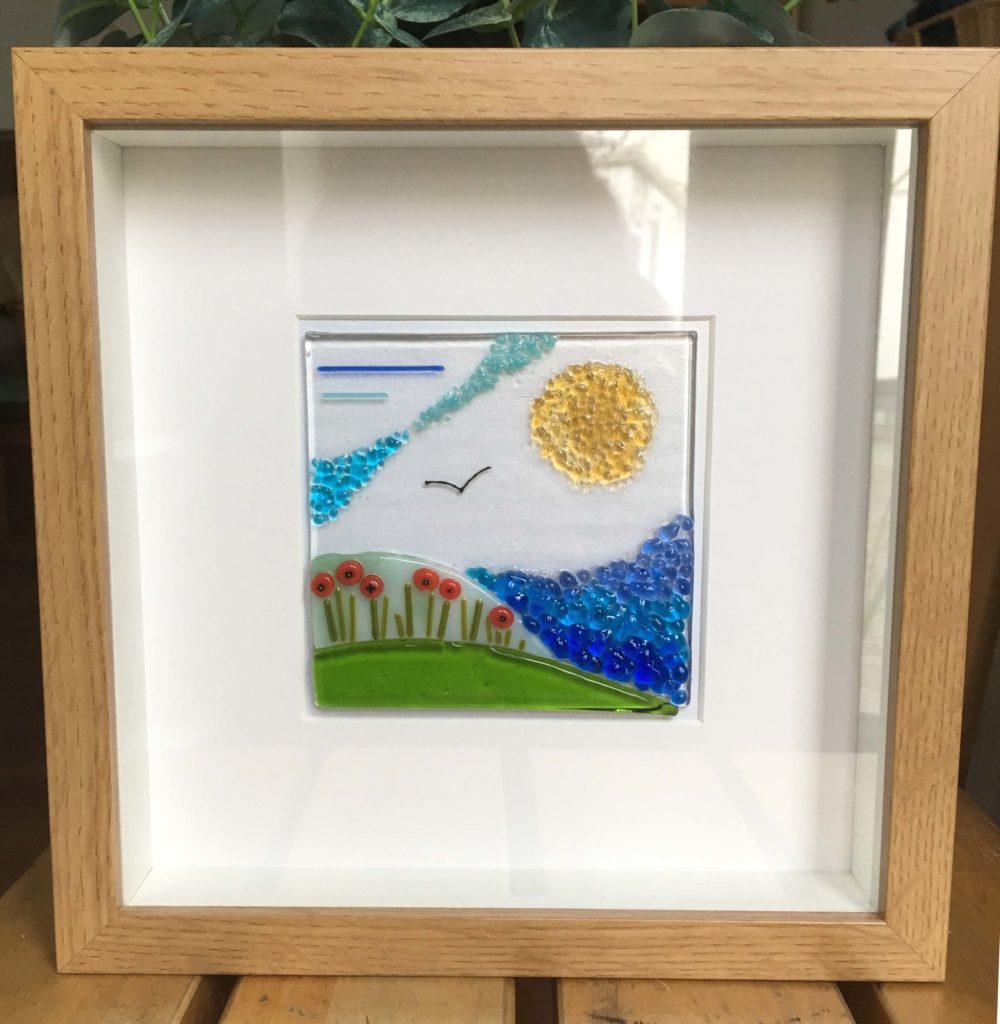
The frames I have used here are just from IKEA. It is amazing how good they look once they are framed up!
Why not have a go at your own interpretation of these and post them to the Facebook page here.
If you’d like to get all our guides and PDF instructions you can join the email list here or in the sidebar. All our email list members get exclusive access to our resource library.