Some things to remember.
Many soap makers pour soap into a long loaf-shaped mould that can then be cut up into bars with a knife or soap cutter. This way is great for making large quantities of soap. Sometimes we want something a bit different.
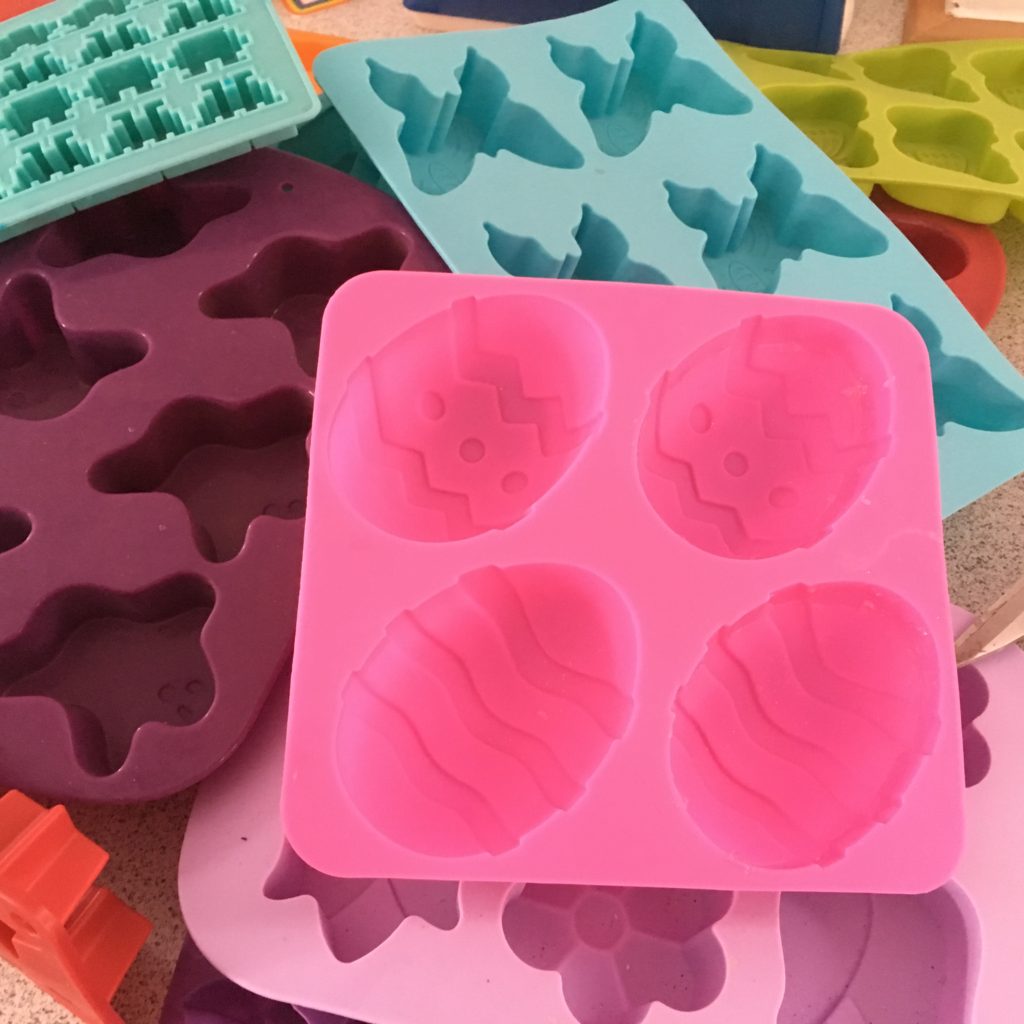
Cavity moulds can be made in all shapes and sizes. Most people use the silicone moulds that bakers use. They come in so many varieties that it is easy to get a bit obsessed.
So what’s different about pouring soap in a cavity mould compared to a loaf mould? Some things to consider.
Your Recipe.
It is best to use a recipe that is heavy in hard oils for cavity moulds just because they are much easier to unmould. If you choose to use a recipe that is mostly made up of soft oils, just be aware that it may take a good few days before the soap is hard enough to unmould, even if the mould is silicone. Adding salt or sodium lactate to your recipe can help to harden it. In fact, many soapers only make salt soaps in cavity moulds as cutting them is difficult later.
Don’t make a huge batch.
Pouring soap into individual moulds takes time. If you make a batch too large then the final few bars may be already set up before you get a chance to pour them into the mould. It is much better to make a few smaller batches instead to give yourself a bit more time.
Don’t use a fast-moving fragrance.
Slow moving fragrances are definitely the ones to go for whilst using cavity moulds. Since it takes a bit of time to pour into all the moulds, using a fragrance that moves quickly will leave you with solid soap in your bowl instead of in the mould.
Insulate your soap if you want it to gel.
Cavity moulds allow more heat to escape as more of the surface area is exposed to the air. Silicone and thin plastic moulds don’t keep the heat in as well as materials like wood. So you need to pay more attention to insulation than you would if you use a log mould.
Gel your soap.
It is advisable to gel your soap when using cavity moulds as they will harden up quicker and the soap will be easier to remove from the mould. Ungelled soap will be very soft and may need a few days to harden up before you try to remove it from the mould.
Don’t heat the soap up too much either!
Some people put their soap in the oven for a short while to ensure that it goes through the gel stage. This is totally fine but be careful not to heat it too much as bubbles will form on top and along the insides of the soap where it touches the side of the mould. Sometimes this is referred to as silicone rash and it only happens when the soap gets too hot. You may also get alien brain soap with overheating! This is where the surface of the soap wrinkles and deforms to look vaguely like the surface of a brain. Overheating can also cause separation where the oils can separate out of the soap.
Let the air in.
To help the soap harden up you can pull away the sides of the mould to let the air in. This helps to dry out the soap so it hardens and comes out of the mould more easily. It’s much easier to pull away the sides of silicone moulds than thin plastic ones which tend to be less flexible.
One good thing about using these moulds is that you can often be more accurate with the weight of your soap bar. Each mould contains the same amount of soap batter so there is less variation between the size of bars in a batch.
And not forgetting the shapes of bars you wouldn’t be able to achieve if you used only loaf/log moulds.
So while log and loaf moulds are wonderful, I still have a special place in my heart for he humble silicone baking mould. Goodness knows I have enough of them!
If you’d like to join our email list, you can sign up in the sidebar or by clicking HERE.
Joining the email list will give you exclusive access to our Resource Library for FREE.