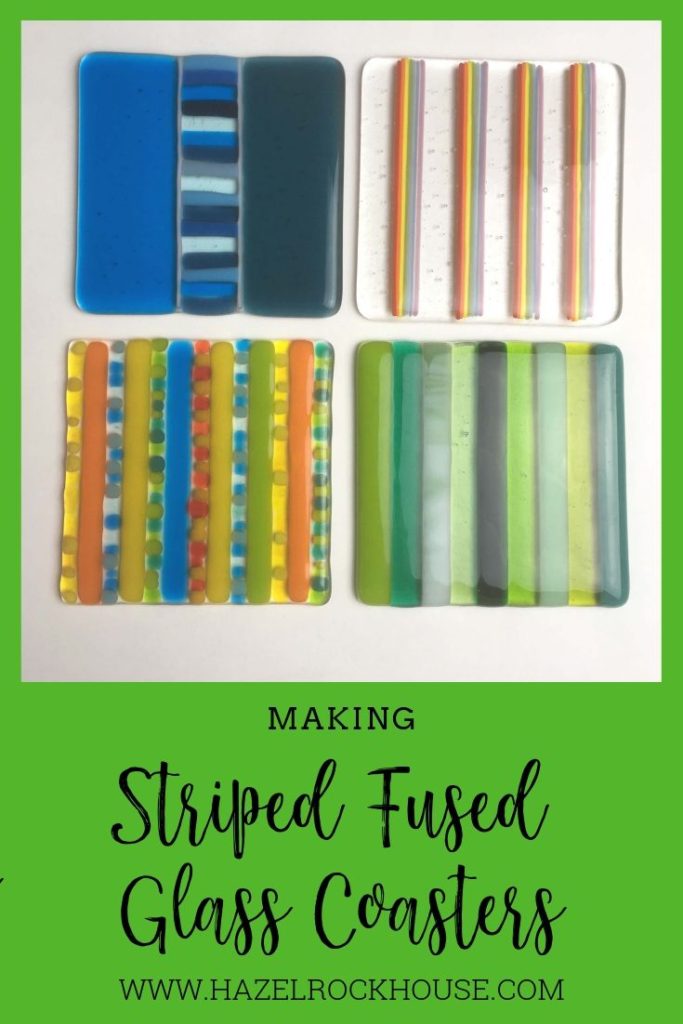
In the studio, fused glass coasters are very popular at the moment. But students come in and don’t really know where to start, so I thought I’d make a few coasters to give them some ideas.
One of the simplest places to start is with the concept of stripes. The straight lines are easy for beginners to cut and you can vary the stripes enough to make each one unique. Different colour combinations can be used and the contrast between transparent and opal glass can be very effective.
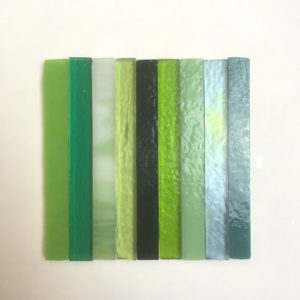
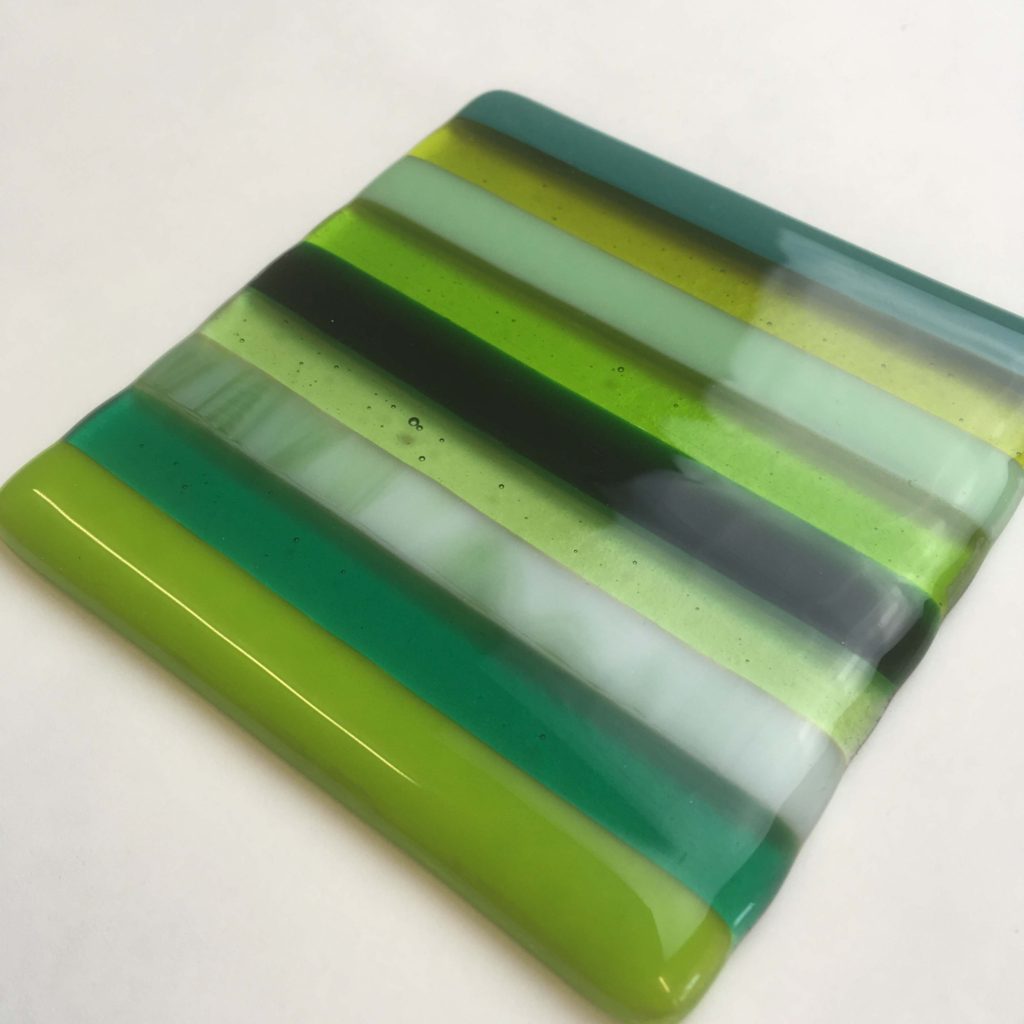
The easiest is stripes the same width the whole way along the glass. I cut strips of green glass in various shades to fill up the whole coaster.
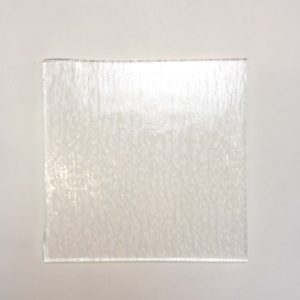
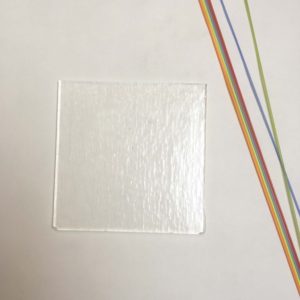
Start with a base piece of Tekta (or other clear glass). I used 10cm x 10cm. Perfect size for a coaster.
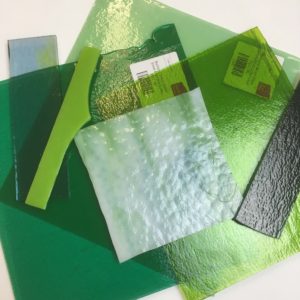
I pulled out all the pieces of green glass I had and gathered them together.
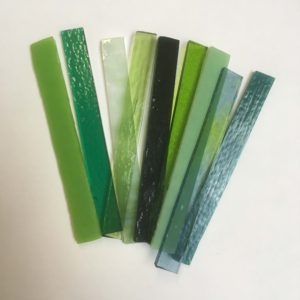
I cut them into strips. 10 cm x just over 1cm. I wanted to fit 9 in the coaster but you could do more or less than this.
I arranged the strips on top of the clear glass and glued with some glastac glue. If you wanted to, you could arrange the strips on the kiln shelf and then place the clear layer on top. Put aside until the glue is dry and you are ready to fuse at a full fuse.
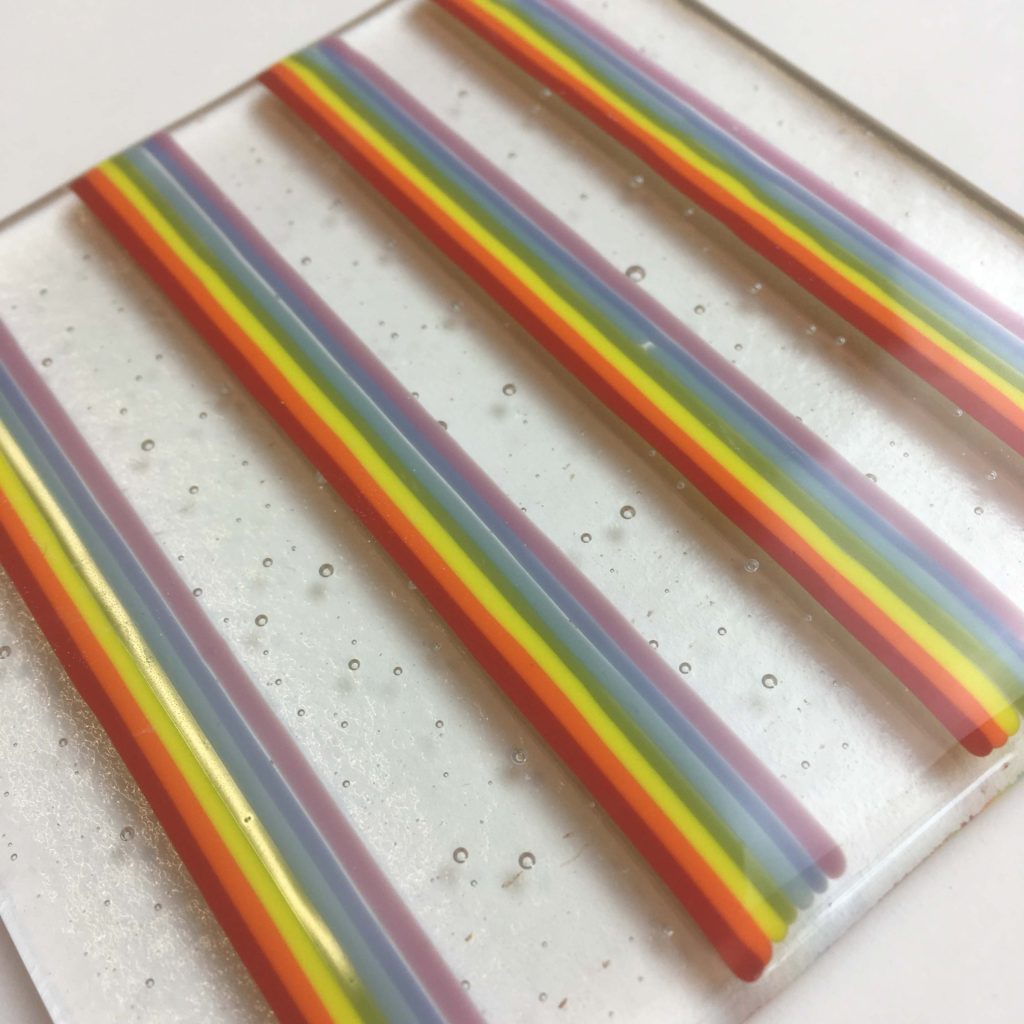
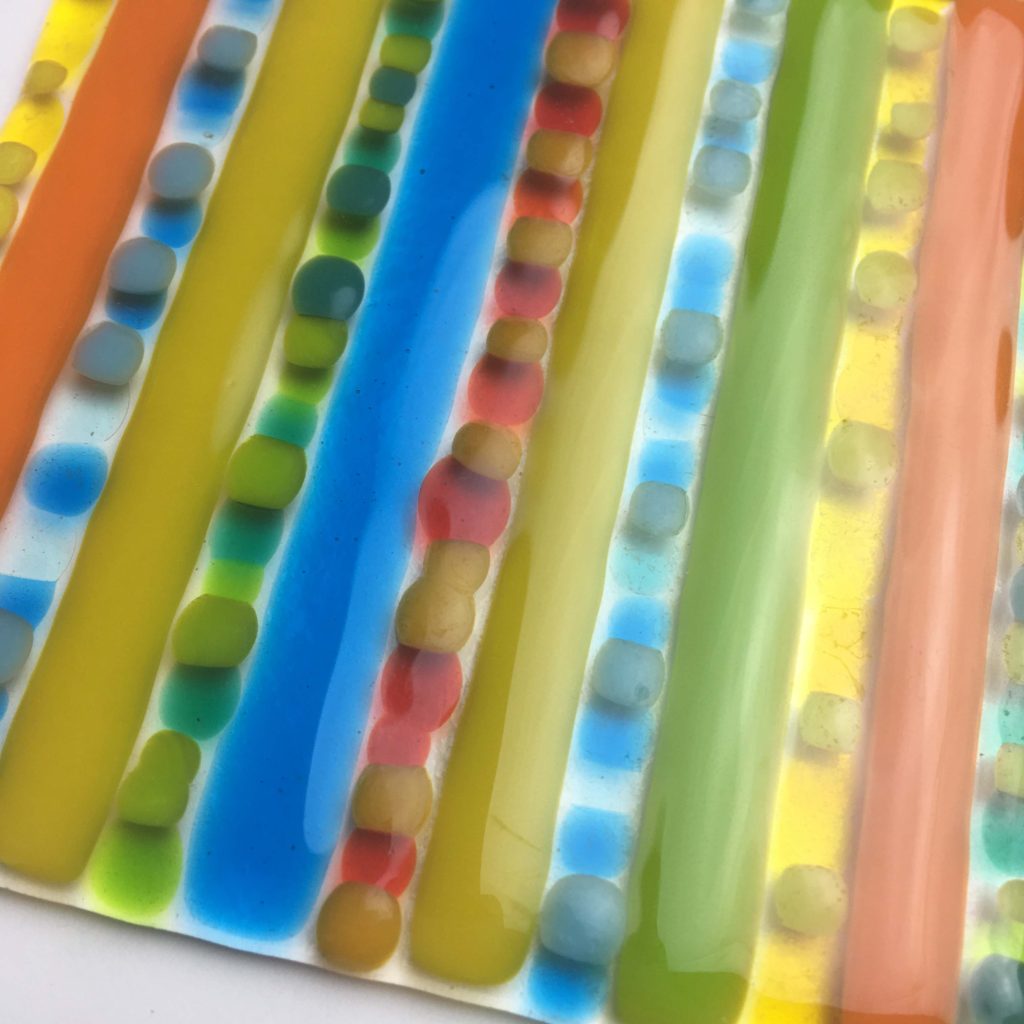
Next I decided to use some stringers to make stripes on clear glass..
Cut a piece of glass 10cm x 10 cm and gather some stringers in your chosen colours. I chose to use rainbow colours.
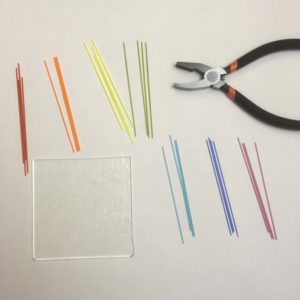
Cut the stringers into 10cm lengths.
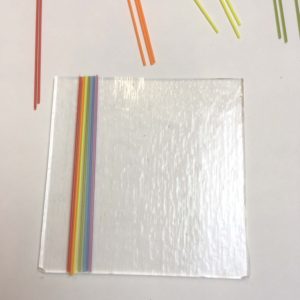
Arrange the cut stringers into your pattern on the top of the base clear glass. I arranged mine in rainbow strips.
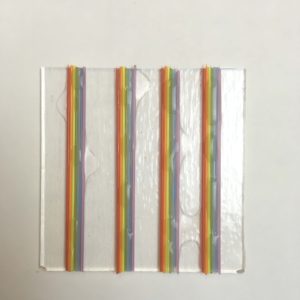
Continue until all the stringers are arranged how you want them. Secure with some glastac glue and leave to dry. As the stringers add only a small volume of glass to this design, we need to add another 10cm x 10cm piece of glass below, so that the edges don’t pull in when we full fuse it. It will now look like this.

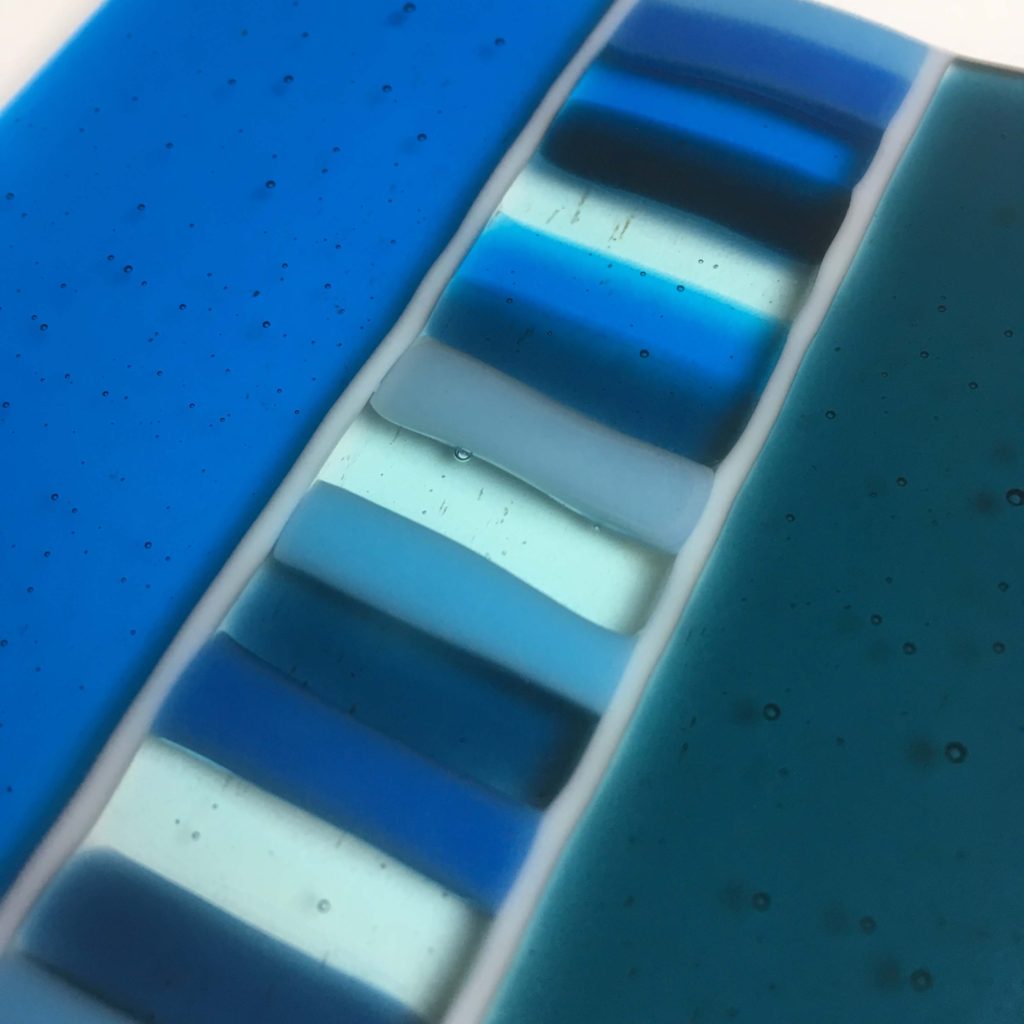
Next I decided to try using bands of colour and stacked stripes in between.
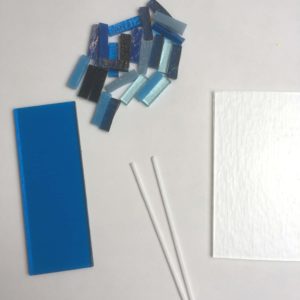
I cut 2 bands of blue glass about 3.5cm wide (only 1 is shown in this picture). I gathered some white opal stringers (2mm) and I cut some small strips of lots of different blues. These strips are just over 2.5cm thick and half a cm wide. I left room for the stringers.
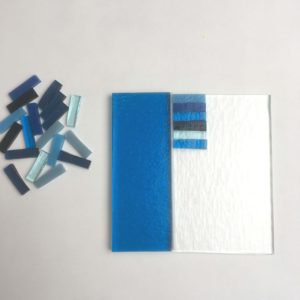
I placed the band on the left, added a white stinger alongside it and started to stack my small strips.
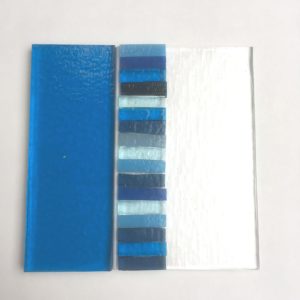
I kept going until all the strips were in and I was happy with the order of the blues. You can see that I used a mixture of opal and transparent blues for this. Both bands to the sides were transparent.

I added a stringer to the other side of the stacked stripes and then put the other band in. I secured everything with glastac glue and put aside to dry.
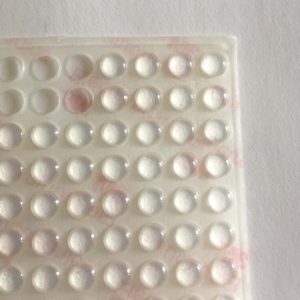
Finally, I decided to make stripes out of spots!
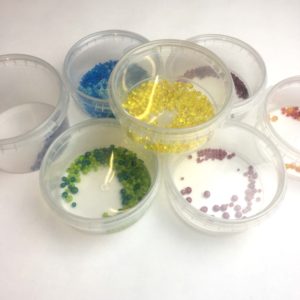
Whenever I run the kiln at a full fuse and I have any space, I put some pieces of coarse frit into it to make these little dots. I then pop them into a tub and they are ready to use in any project that needs them. I have a good few of them so I decided to make stripes out of them.
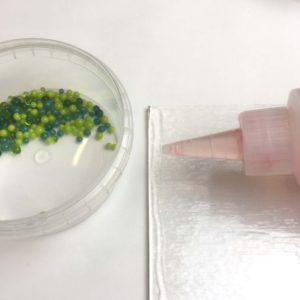
I put a line of glastac down on the base piece of clear glass before I started. These little dots are very inclined to roll so the glastac helps to keep them in place while I’m working.
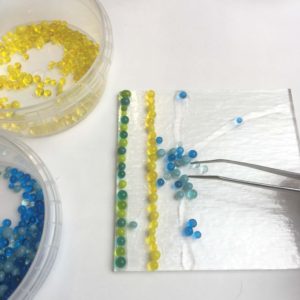
I just put a bunch of dots onto the glass and then use a pair of tweezers to move them around into the proper place. It is painstaking work and will take a while! I didn’t worry too much about the order of the shades of each particular dot. With some colours, I have more choice but some I had only 2 variations. It’s not important.
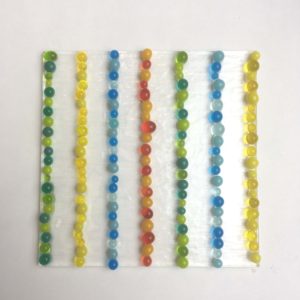
Don’t they look fantastic all arranged in lines?
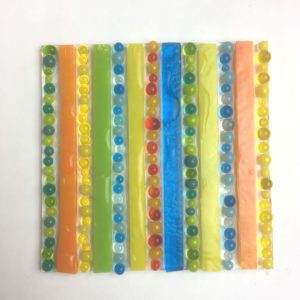
In between the lines of dots, I put solid pieces of glass in complimentary colours. These strips are about 0.7cm thick. I made sure that I didn’t use the same colour beside a row of dots. I added glastac and left to dry.
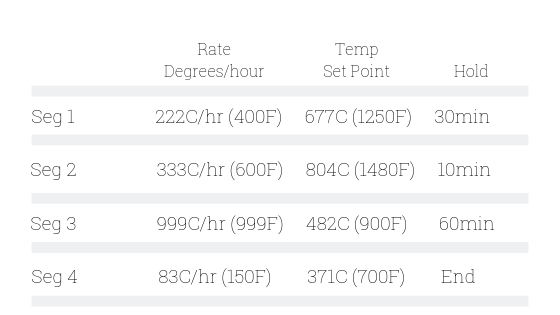
Once all of the coasters were dry, I full fused them at the recomended fusing schedule for 2 layers of Bullseye glass. You may need to use a different schedule if you are using a different type of glass.
Here’s the fusing schedule I used
So I bet you are excited to see how they turned out?

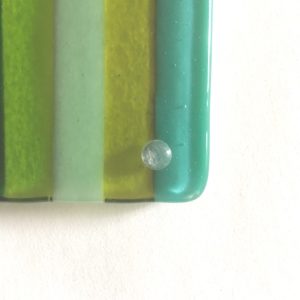
To make them sit nicely on your table, you need to add rubber feet.
These are self-adhesive so you just stick them on the bottom of the glass about 0.5-1cm away from the corner.
So there you have some ideas for your next fused glass coasters.
If you’d like to sign up for the mailing list, which gives you exclusive access to the resource library, you can fill in the form in the sidebar or click HERE
If you want pin this post for later, click on the image below.