What is gel?
For those of you who don’t know, gelling your soap refers to the phase of soapmaking when the soap has been made and put into the mould. As the chemical reaction continues, the soap becomes darker and jelly-like. It gets very hot. If you watch, you can see this spreading to the edge of your soap. During the chemical reaction that makes the soap (saponification), the chemical reaction creates heat, which heats up the soap in the mould. In fact, it melts the soap entirely. This is what you see when the soap goes dark and gel-like.
Why would I want my soap to gel?
Gelling your soap can make the colours brighter, in fact, they can also appear translucent. In some cases, it can prevent soda ash. It can make the soap harder in the short term which makes it easier to unmould quickly. This is especially useful if you are using small cavity moulds as they can sometimes be too soft to remove the next day.
How can we make sure our soap will gel?
To make sure we gel our soap, we need to make sure that the chemical reaction is going quickly, so we need to speed it up.
We can increase the temperature of our oils and lye solution. This gets the reaction going straight away. Most books recommend making soap when your oils and lye solution are around 45-50oC. I prefer to use a lower temperature in the normal run of things because it gives me more time to work with the soap before it starts to set up. If you want to gel your soap I would stay with these higher temperatures. Some books say you can even soap up to around 70oC.
Once the soap has been poured into the mould you can insulate it to keep the heat in. Heat is produced during the chemical reaction so wrapping your soap with old blankets or towels will stop it escaping and heat up the soap.
You could place your soap on a heating pad to add some extra heat. Keeping it in a warm room or setting it by the fire or a heater will help. Some soap makers put theirs into a low oven to force the soap to gel (called Cold Process Oven Process or CPOP).
Choose a ‘fast’ fragrance. Some fragrances tend to speed up the chemical reaction will also increase the heat of the soap. Other fragrances like lavender tend to slow down the rate of reaction so be aware you might need extra heating methods with those. Be careful with ‘fast’ fragrances, some can accelerate so fast that you end up with solid soap before you even have time to pour it into the mould.
Some additives tend to increase the chances of gel. Anything containing sugar will speed up the reaction. So adding honey or fruit purees can make your soap gel. If I’m adding honey, I don’t bother with any other methods of keeping the heat in. I find that the honey itself is enough to ensure gel provided my temperatures were normal and the room is normal room temperature. Insulating a honey soap can result in cracks or volcanoes where the soap heats up too fast, expands and pours out of the mould like a volcano.
What if we don’t want to gel our soap?
Not allowing the soap to gel can result in lighter and more pastel colours which are more solid and not translucent.
It can be very useful to keep soap cool when adding honey as we want to prevent overheating. An ungelled honey soap is also much lighter in colour than a gelled one and the honey can make it go quite brown if it heats up.
When making milk soap, it is usual to keep temperatures low in case the milk may scorch in high heat. This can make the soap turn an orange colour and add a nasty smell if it happens.
Soapmakers often make soap which contains embeds made from melt and pour soap. If these get too hot they will melt so they need to be kept cool.
Excess heat in a soap may produce what is known as glycerin rivers. The pigments used (usually Titanium Dioxide but not always) look like they have clumped together and they have translucent lines running through them. It isn’t a problem with the soap, but some soap makers prefer not to have them because it affects the design they were trying to achieve.
How can I make sure my soap doesn’t gel?
It can sometimes be very difficult to stop soap from gelling if it wants to, but you could try the following!
Don’t insulate the soap. Let the heat escape into the room.
Use a room temperature method to make the soap. Keeping the oils and lye solution at room temperature makes the chemical reaction go more slowly.
Once the soap has been poured into the mould, you can put it into the fridge or freezer to keep it cool. If your mould fits in your fridge! You can use a fan to cool it down if you don’t have room.
Using cavity mould instead of a loaf shaped mould can really help to allow the heat to escape into the surrounding air. Taking ungelled soap out of cavity moulds can be difficult as they may remain much softer for longer. If it is a silicone mould, pull the edges away to allow the air to come in contact with the soap. Then leave for a couple more days. This will allow some water to evaporate and allow the soap to come out easier.
Use ‘slower’ fragrances. As we said before, different fragrances affect the speed of the reaction, so choose one that doesn’t speed it up or one that actually slows the reaction down.
And finally, you could try using a water discount
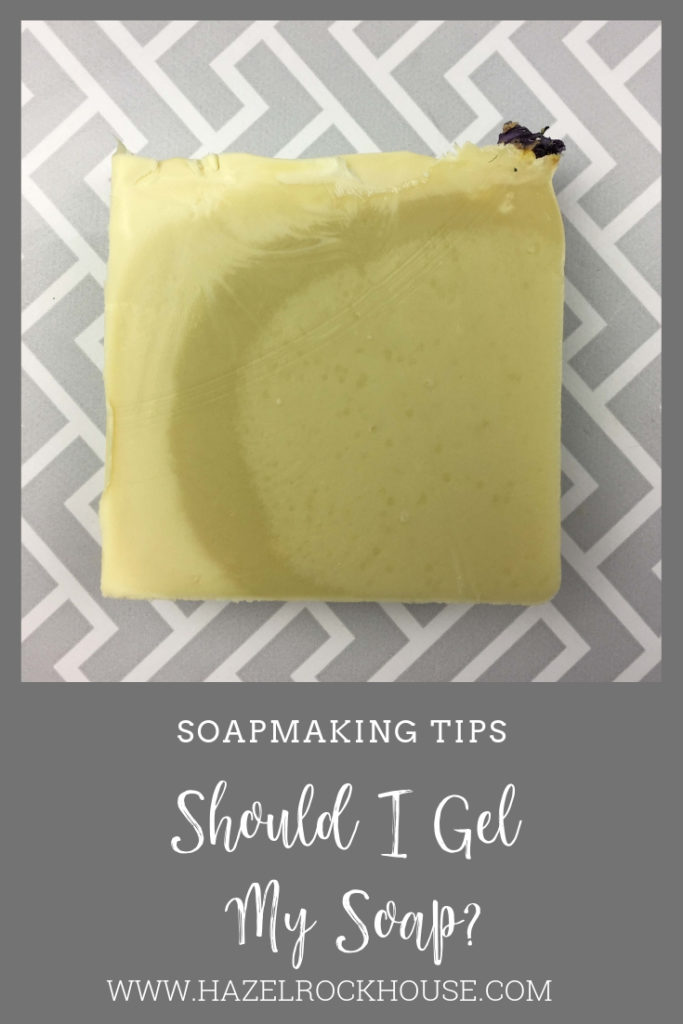
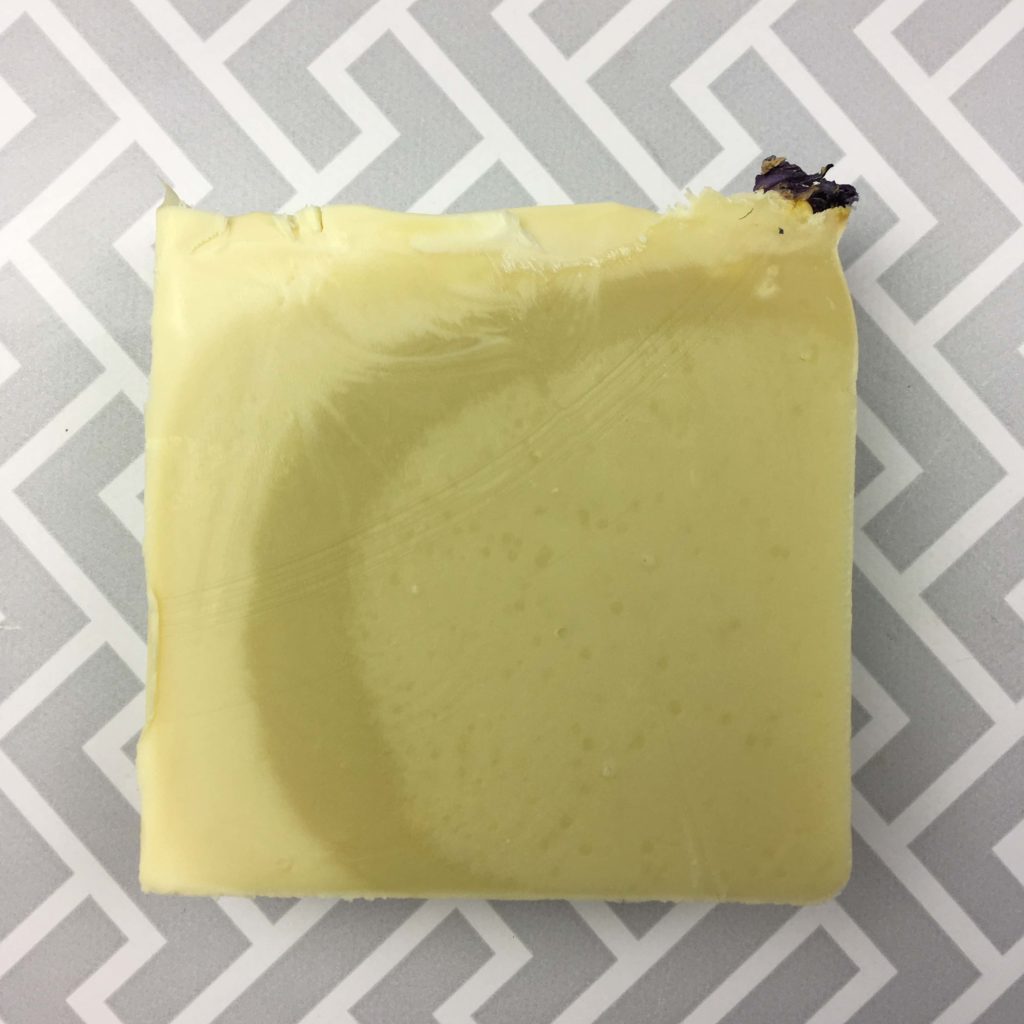
Partial Gel.
This happens when the soap begins to heat up in the middle but stays cool at the edge. Usually, this happens when the soap is not insulated or it is refrigerated and gel has already begun. This doesn’t harm the soap but it does make for an interesting soap design! For this reason, most soap makers don’t want a partial gel. The picture above is a particularly good example of a partial gel as you can see the rings of soap heated to different temperatures as the heat spread through the soap. Not my favourite look!
So gelling your soap or not is really just a personal preference. There isn’t a right or wrong way to do it. Each soap maker develops their own way of making soap over time. And it can even vary depending on which type of soap you are making. So have fun experimenting!
If you liked this post, you can get it in PDF form in the Resource Library. To become a member, you can sign up for our emails here or in the sidebar. If you become a member then you have exclusive access to our resource library for free. Each month we add new tips, tutorials and information to help you on your journey.