Many people who want to make soap are put off by the use of Sodium Hydroxide (Lye) in the making of it. The fact is that you need lye in order to make soap from scratch.
Just a note. In this post, I’m going to refer to solid Sodium Hydroxide as lye and Sodium Hydroxide dissolved in water as lye solution.
If you really don’t want to handle lye, then you can use melt and pour soap, which is great, but you don’t have the same level of control over the ingredients you put in. It’s like using a store bought mix to bake a cake…It tastes fine but you can’t vary the recipe. And creative people like us…let’s face it, jiggling the ingredients is what we are all about.
I’m here to tell you the best ways of dealing with lye so it is safe to use. After all, you wouldn’t be put off making a cup of tea or coffee because you need to work with boiling water. You wouldn’t want that on your skin either. It’s all about managing the risks.
Safety Equipment.
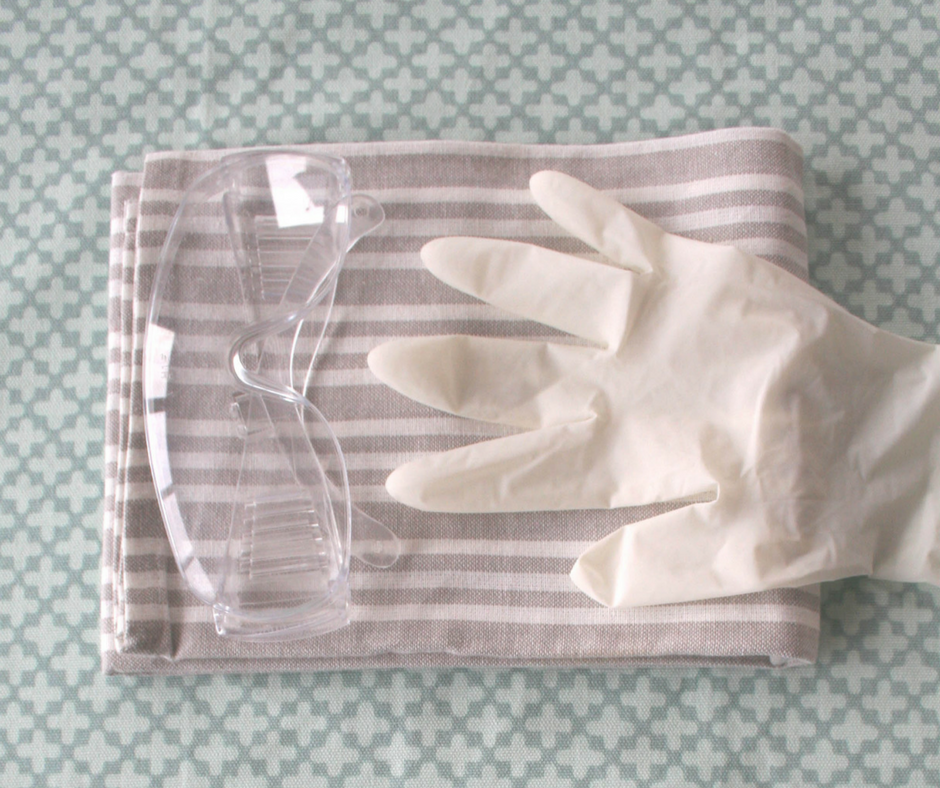
This is a must. Goggles and gloves are absolutely necessary for safe lye handling.
I know you don’t want to wear them and they get in the way but they really could save you from a nasty burn or significant eye damage.
Keep the goggles on until after your dishwashing is finished. It seems like overkill but I personally have been splashed in the eye with caustic fresh soap whilst doing the dishes.
It’s important to wear closed toed shoes so you don’t get any on your feet if you do have a spill.
Some books advocate the use of long sleeved tops but I find they can hold lye solution or fresh soap next to your skin so I prefer short sleeves. You can then wash any splashes off straight away.
If I am doing a complicated procedure with the soap eg piping or layering, I use the plastic sleeves that scientists use. I tend to be messier whilst piping and they are easily available on Amazon if you don’t fancy the bare-skinned route.
Lye storage.
Lye awaiting use should be kept in an airtight box as it absorbs moisture from the air. Some books say that absorbing water weakens the lye, but it just means that your chosen weight is composed of both lye and water, so there isn’t enough actual lye in your soap at the end. And more water than you wanted.
Label the box well and keep on a high shelf out of reach of children or pets.
If you are storing lye solution, this advice goes double. You must keep the jug out of reach of children and pets.
Make sure you keep it in a non-leaking container with a lid once it has cooled down. Hot solutions should not be kept in closed containers in case the pressure builds up inside.
Distractions.
Make sure children and pets (and maybe partners!) are well out of the way and won’t come into your soap making area during the soap making.
If you want you can turn off your phone or TV as well if you find them distracting.
Leave that lovely glass of wine until after the soap making session, you’ll need a clear head. Reward yourself after you are done!
Mixing the lye solution.
This is best done in the sink so any spillages can be easily contained.
The dissolution of lye in water creates a huge amount of heat, and plastic jugs sometimes are not up to the job.
You can test your jug beforehand by filling it with boiling water (in the sink) and seeing if the plastic resists this kind of heat. This is a similar level of heat produced by the chemical reaction so it’s a good indicator of how your plastic will perform.
Many soap makers use stainless steel jugs instead to be sure but avoid aluminium jugs as they will react with the lye solution.
When you are ready to mix the lye and water make sure you add the solid to the liquid. The reaction is exothermic, it releases heat.
If you add liquid to the solid slowly, the small amounts of liquid will heat up so fast that they could evaporate explosively and spray out of the jug. Adding the lye to the liquid will avoid this as the larger amount of liquid will be able to absorb the heat.
Add the lye slowly and mix well with a spoon. If you don’t mix well enough you will end up with a layer of undissolved solid lye at the bottom of your jug. It’s almost impossible to get this to dissolve, and you don’t want to have lumps of solid lye in your soap. You should always strain your lye solution through a sieve even if your lye has dissolved, just in case.
When the lye is mixed, it can give off some pungent fumes. Don’t breathe this in. Make sure you work in a well-ventilated area. I have a window above my sink which I always open.
Some soap makers mix their lye on the hob under the extractor fan. Some mix their lye outside. All of these are fine but if you aren’t using the sink you can put your jug in a basin instead.
I always cover my lye immediately with a layer of cling film (saran wrap) so no fumes can escape.
Splashes of lye.
Some soap makers advocate the use of vinegar on lye splashes and burns, but this isn’t the best plan. The idea is that vinegar (a weak acid) will neutralise the lye solution (a strong alkali) but it’s really not enough. In addition, they will react together with the possibility of creating more heat.
The best advice is to wash any splashes under a running tap, just as you would do for any other type of burn. This will wash the lye away and cool the area.
Purity of lye.
If you are making soap you really need to be ordering your lye from a reputable supplier. There are many soap making websites around the globe that would be happy to supply you with lye that is suitably pure for soap making. You could go to a hardware store to buy it but you risk buying a contaminated product.
Lye is usually sold as a drain cleaner but not all drain cleaners are pure lye, some are other things entirely and some can be a mixture of multiple chemicals. Best to buy the pure stuff.
Protect your surface.
You can use a plastic tablecloth or newspaper. Lye and freshly made soap will most likely react with the varnish on your table.
And finally, the soap making cleanup.
The not so much fun bit. Once the soap is made it is still very caustic as the chemical reaction hasn’t been completed yet. Washing up these caustic dishes can present a few problems.
You will need to wear your goggles and gloves for the clean up as well. Even better, get out your heavy-duty washing up gloves.
You can wash your dishes in the conventional way in the sink. You’ll need a lot of dish soap to cut the grease, lots of hot water and the patience of a Saint. There are easier ways!
Many soap makers wipe their dishes out with paper towels first and dispose of these in the bin. This makes it much easier to wash as there isn’t a lot of soap residue left on the dishes.
Some use clean rags to wipe their dishes which they then wash. The rags are put away overnight and washed in the washing machine the next day when the mixture has almost completely turned to soap.
Others put all of the soapy dishes in a box or large plastic bag and leave the whole lot in the shed or garage until the next day. Then they can wash the soap residue off much more easily and you don’t need any dish soap at all.
It’s not a good idea to put freshly made soap in the dishwasher as it can react with any aluminium inside as well as the rubber seals around the door.
Whatever way you choose to clean up, you can now have that glass of wine!


